Garage Door Torsion Springs 101: Breaks, Safety & DIY
A homeowner’s torsion spring snapped without warning. We explain why springs break, safety risks, how we size replacements, and when to DIY vs. call a pro.
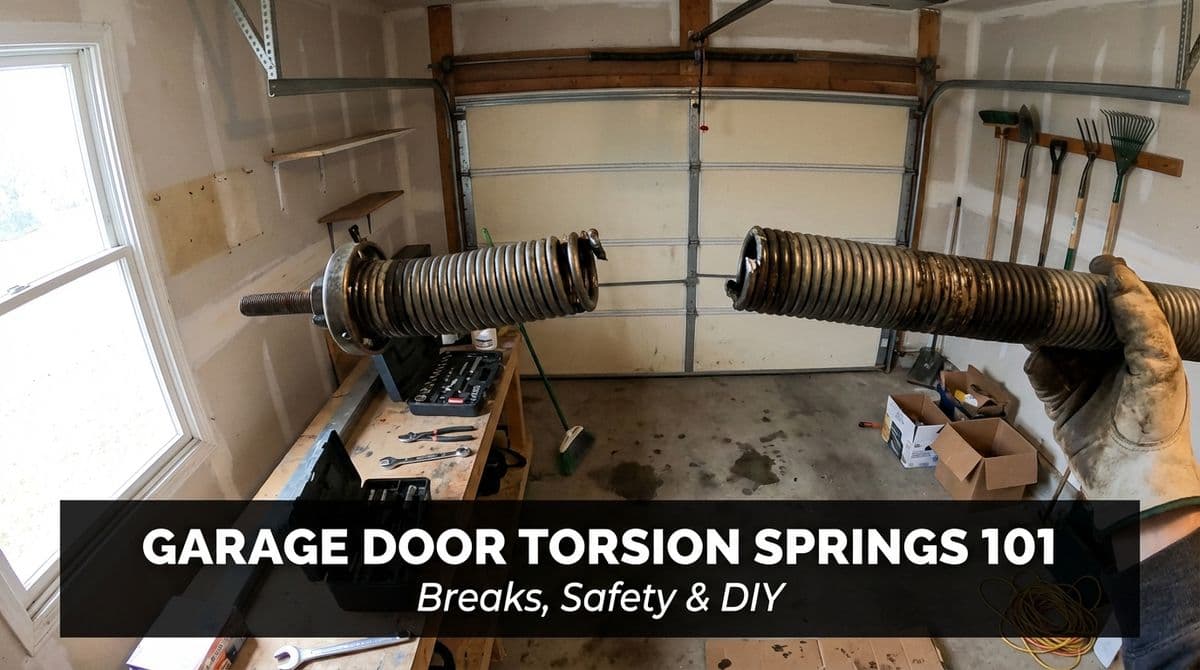
When a “Big Spring” Snaps: A Real Garage Door Call
We recently got a call from a homeowner — let’s call him Tom — who had what he described as “one of those two big springs” snapped in half above his garage door. He told us it was a wood, two-car garage door in a typical subdivision home, and he’d had the springs replaced back in 2016.
As we asked a few questions, we quickly figured out what we were dealing with: a standard double door, likely using a pair of 30–33 inch torsion springs, very similar to a lot of doors we see in our area. Tom’s main questions were simple but important: Why did the spring break? Is it safe to use the door? And is this something I can DIY, or should I call a pro?
We walk homeowners through these exact questions almost every day, so in this post we’ll share how we explain garage door torsion springs, why they fail, and how we decide when DIY is okay and when we strongly recommend professional service.
What Torsion Springs Do (And Why They Eventually Break)
When we arrive on site, one of the first things we show homeowners is what those “big springs” actually do. Torsion springs are the tightly wound coils mounted above your garage door. Their job is to counterbalance the weight of the door so it can be lifted smoothly by hand or by the opener.
In Tom’s case, he had a heavy wood double door. Without working torsion springs, that door can easily weigh 150–300 pounds. The springs carry most of that weight so the opener isn’t doing all the lifting — and so you don’t throw out your back trying to move it.
Over time, every spring wears out. In our experience, there are a few main reasons they break:
- Normal wear and tear: Most standard springs are rated for about 10,000 cycles (one open + one close). For an active household, that can be 7–10 years, which lines up with Tom’s 2016 replacement.
- Heavier doors: Wood and insulated doors put more stress on the springs. If the springs weren’t upgraded for the weight, they tend to fail sooner.
- Lack of maintenance: Springs that never get lubricated have more metal-on-metal friction and can fatigue faster.
- Temperature swings: In climates with big changes between hot and cold, steel expands and contracts, which can accelerate fatigue.
So when homeowners say, “The spring just broke out of nowhere,” we explain it this way: the last cycle was simply the final straw on a part that has been quietly working hard for years.
Why a Broken Spring Is a Big Safety Risk
We always tell customers like Tom: a broken torsion spring is a serious safety issue. When a spring breaks, a few things happen immediately:
- The door becomes very heavy and can come crashing down if it’s partly open.
- Your opener is suddenly trying to lift the full weight of the door, which can burn out the motor or strip gears.
- If someone tries to force the door open, the cables can tangle, snap, or pull hardware out of the wall.
In our experience, the most common injuries we see are from homeowners trying to lift a dead-weight door, or trying to wind new springs without the right tools. The torque stored in a properly wound torsion spring is enormous — if something slips, that energy has to go somewhere.
Our rule of thumb is simple: if a torsion spring is broken, don’t use the door. Leave it down if possible, don’t keep hitting the wall button, and don’t pull the emergency release and try to “muscle it” yourself.
DIY vs. Calling a Pro: How We Walk Homeowners Through the Choice
Tom asked us what a lot of handy homeowners ask: “Is this something I can do myself?” We appreciate the DIY mindset, and we’re always honest about where it makes sense and where it doesn’t.
What we’re okay with homeowners doing
Here’s what we typically say is safe for most homeowners to tackle on their own:
- Basic lubrication: Using a garage door lubricant (not WD-40) on hinges, rollers, and springs a few times a year.
- Visual inspection: Checking for gaps in the spring coils, frayed cables, bent tracks, and loose hardware.
- Testing balance (with intact springs): With the opener disconnected and the door halfway up, seeing if it stays in place. If it slams down or shoots up, call us.
Where we strongly recommend a professional
When it comes to torsion springs themselves, we almost always recommend calling us or another qualified pro. From our side of the truck, we know what can go wrong:
- Incorrect spring size: If the spring is too strong or too weak for your specific door, it can cause balance problems, extra wear on your opener, and even make the door unsafe.
- Improper winding: Too many or too few turns on the spring can lead to the door flying up, slamming down, or binding halfway.
- Wrong tools: We use hardened winding bars and locking tools; using screwdrivers or makeshift bars is how wrists get broken.
In Tom’s situation — a heavy wood two-car door with one broken torsion spring — our clear advice was: don’t DIY this one. The cost of getting it wrong (door damage, injury, or a fried opener) easily outweighs the savings from trying to replace the springs yourself.
How We Size, Match, and Sometimes Upgrade Springs
Homeowners are often surprised at how much math goes into something that “just looks like a spring.” When we come out to a torsion spring job, we don’t just throw on whatever is on the truck. We follow a process we’ve refined over years in the field:
- Measure the door and hardware: We confirm door width, height, construction (steel, wood, insulated), and track and opener setup.
- Weigh or verify the door weight: For heavier or older doors, we’ll actually weigh the door or use manufacturer data when available.
- Select spring size and cycle rating: Based on weight and drum size, we choose spring wire size, length, and inside diameter. When possible, we like to upgrade from standard ~10,000-cycle springs to higher-cycle options for busy families.
- Balance and test: After installation, we fine-tune the tension until the door stays where you put it and runs smoothly by hand before we ever reconnect the opener.
In our experience, taking the extra time to match springs correctly means fewer callbacks, smoother operation, and longer life for both the door and the opener.
What a Typical Spring Replacement Visit Looks Like
Homeowners like to know what to expect, so here’s how a standard torsion spring visit usually goes when you call us:
- Arrival and safety check (5–10 minutes): We verify the problem, make sure the door is secure, and unplug the opener.
- Removal of old springs (15–30 minutes): We safely unwind any remaining tension, remove the broken springs, and inspect the shaft, drums, cables, and bearings.
- Installation and balancing (30–45 minutes): We install the new springs, set the correct number of turns, and balance the door by hand.
- Door and opener tune-up (15–20 minutes): We lubricate moving parts, adjust opener force and travel limits, and test safety sensors.
Most standard double-door spring jobs take us around an hour to an hour and a half, depending on what we find. In Tom’s case, we quoted him a flat price to replace both springs and service the door and opener, which is what we usually recommend so both springs are the same age and strength.
Simple Maintenance We Recommend to Extend Spring Life
While no spring lasts forever, we always leave homeowners with a few easy habits to get the most life out of their new parts:
- Lubricate springs and hinges twice a year with a silicone or lithium-based garage door spray.
- Listen for changes: Grinding, popping, or loud squeaks are your door’s way of asking for attention.
- Do a quick balance and safety test every few months (with intact springs): check door balance and make sure the opener’s auto-reverse works with a 2x4 laid flat under the door.
- Schedule a professional tune-up every 1–2 years if your door is used heavily.
In our experience, a few minutes of maintenance can add years to your springs and keep your opener from working overtime.
When in Doubt, Don’t Force It — Call Us
If your garage door suddenly feels heavy, won’t open, or you see a visible gap in the torsion spring above the door, treat it like Tom did: stop using the door and call a pro. We’re always happy to talk you through what you’re seeing over the phone and let you know if it’s safe to leave as-is until we arrive.
From our side, we’d much rather come out to a calm, intact door than to a door that’s been forced open, an opener that’s burned out, or a homeowner who’s been hurt. When it comes to torsion springs, letting us handle the heavy lifting is almost always the safer and more cost-effective choice.